
OpenSCAP (Security Compliance Automation Protocol) is used to audit systems for compliance. It comes with several templates of predefined settings. We can also create our own custom policies if our organization has preexisting security requirements then. OpenSCAP will use the templates to scan hosts in our environment for compliance.
OpenSCAP has a number of different components that we will look at in this post. The scap-workbench is a GUI interface which is used to run SCAP commands. oscap is the command line tool that we can use to check our system security settings and also to examine them for possible signs of compromise.
OpenSCAP is based on SCAP which is a grouping of specifications that are maintained by NIST. SCAP was created with a goal of developing standardized approaches to system security. The NIST SCAP release cycle governs specification updates to provide consistent and repeatable workflows.
There is a drawback to oscap, We can only scan the local host with the oscap command. The scap-workbench enables remote host scanning.

We will begin by installing the scap-workbench. Please enter yum install -y scap-workbench in a terminal window on your system.

It will take a few minutes for the installation to complete. We will use the tool to scan hosts for things like determining which settings are enabled or disabled and which packages have been installed or are missing, Our goal is to complete compliance checks for verification that systems are compliant with our security policies.
The scap-workbench allows us to create custom remediation scripts that can be used with tools like Chef, Puppet, or Ansible.
Please enter scap-workbench to launch the tool once your installation has completed.
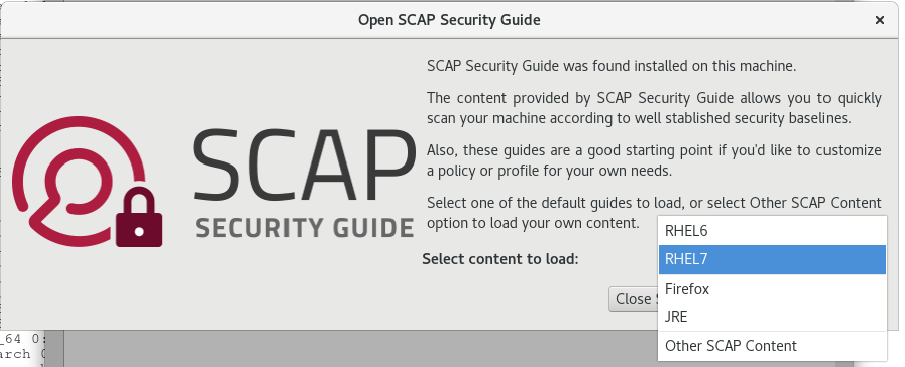
The workbench will open with a prompt where we will configure the content to load. Our demo machine is running RHEL7 so this was selected.
Please select the content you would like to load and then press the Load Content button.

The workbench will load with a number of options we can select at the top.
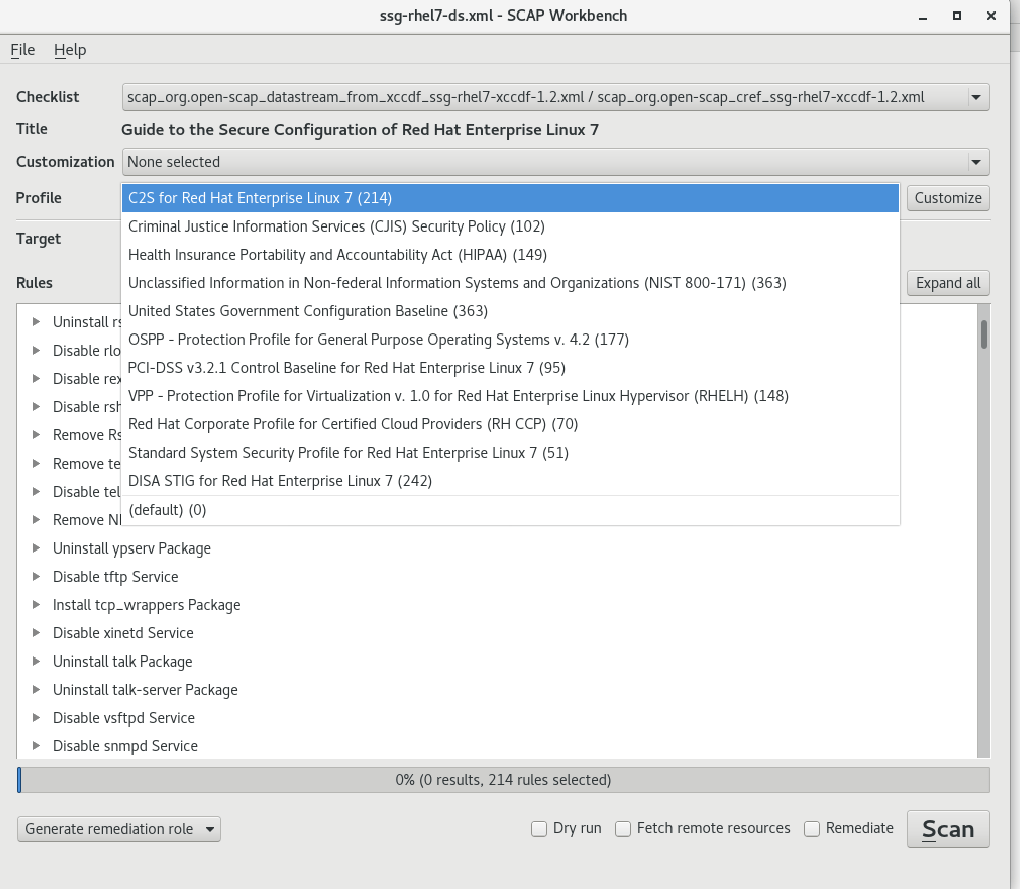
Please click on the dropdown menu for profiles and review the numerous options for us to run. Select one to use for a sample scan of your system.
The Target is selected just below Profile. We can scan our local machine or a remote one via SSH.

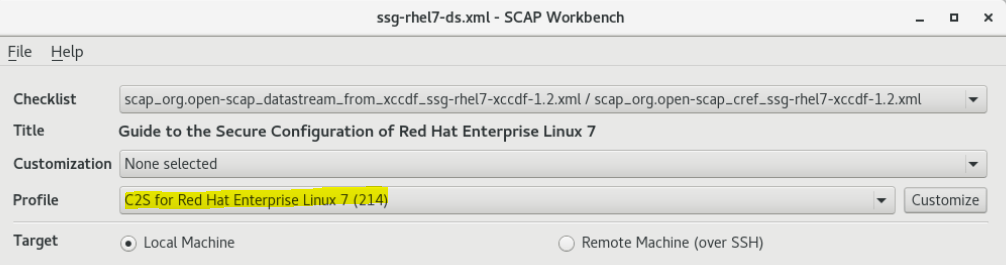
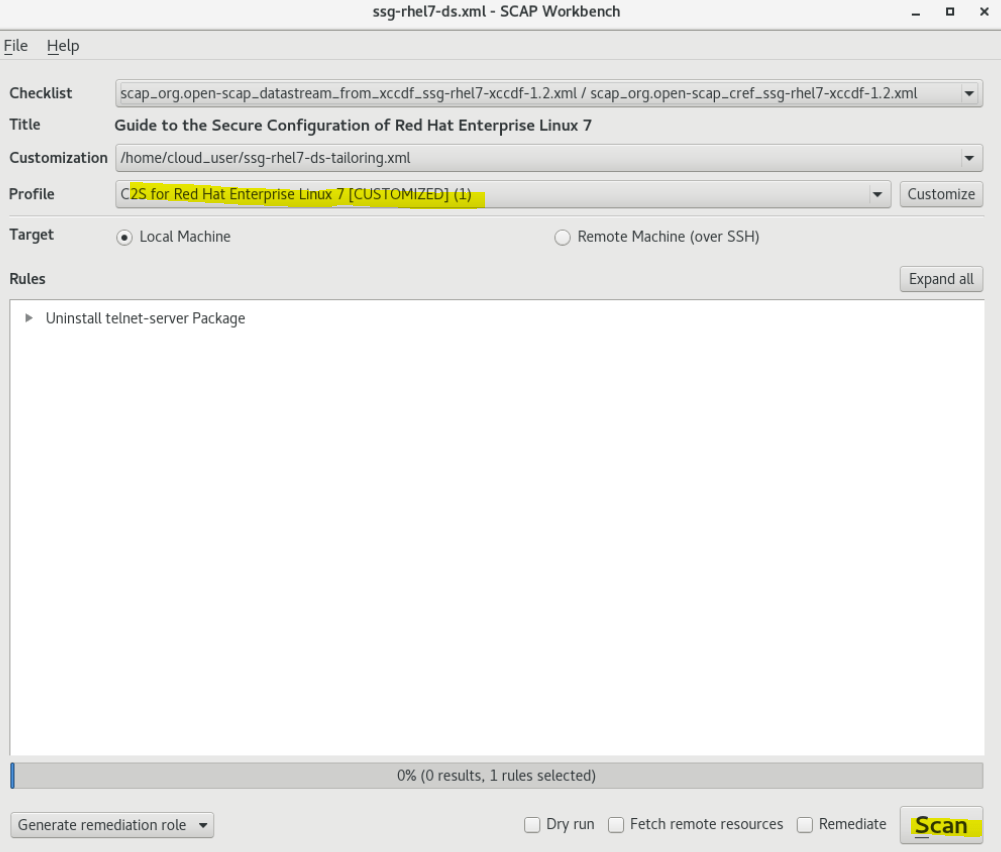
To create a custom profile you will start by selecting one of the default available in the Profile dropdown menu. I selected C2S for Red Hat Enterprise Linux 7 (214) for this demonstration.
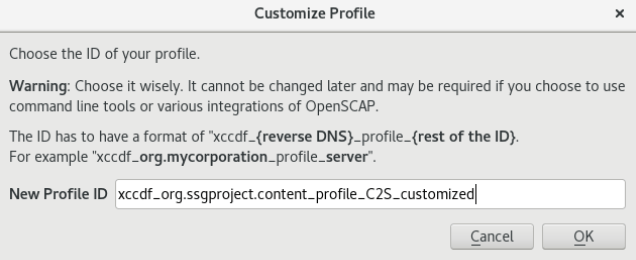
Please choose a profile and press the Customize button. You will be prompted to provide a name. Press Ok.
The customizer will open. You will see a number of options for customizing the profile.
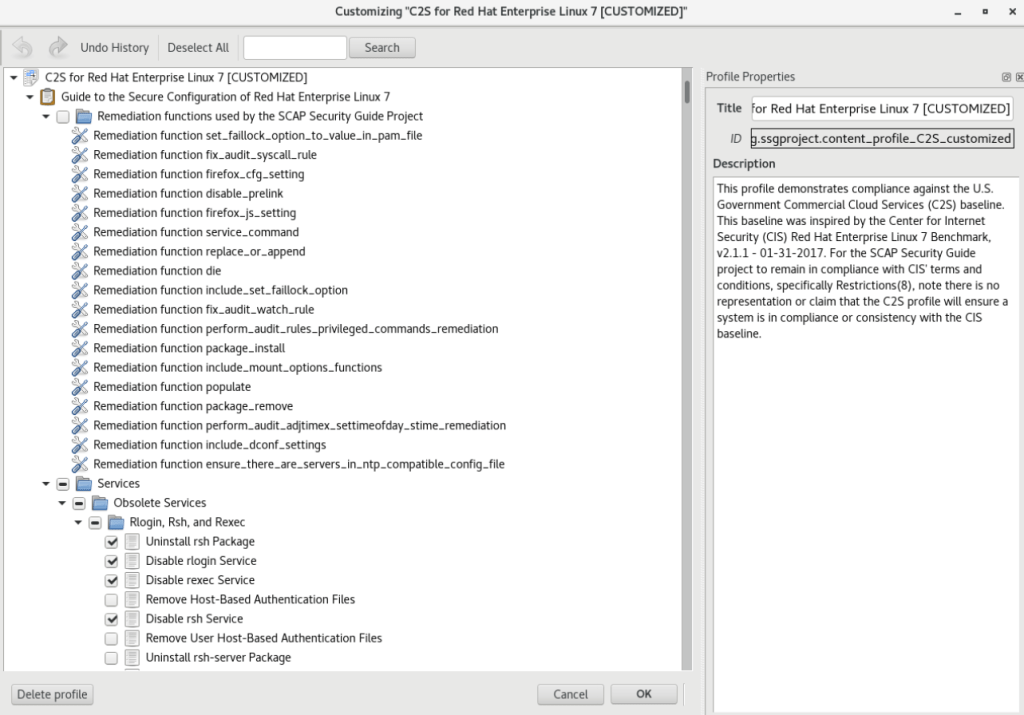
Some of the rules will already be checked. We would press Deselect All at the top if our goal was to start from scratch.
Scrolling through the options can become confusing due to the number of available options. It can help to minimize the windows and only expand the one we are currently working on.
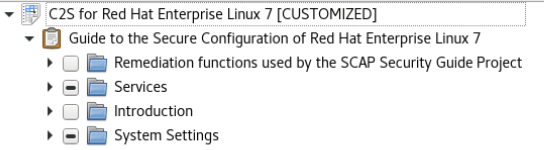
Please expand the Services section. The first option will be Obsolete Services.
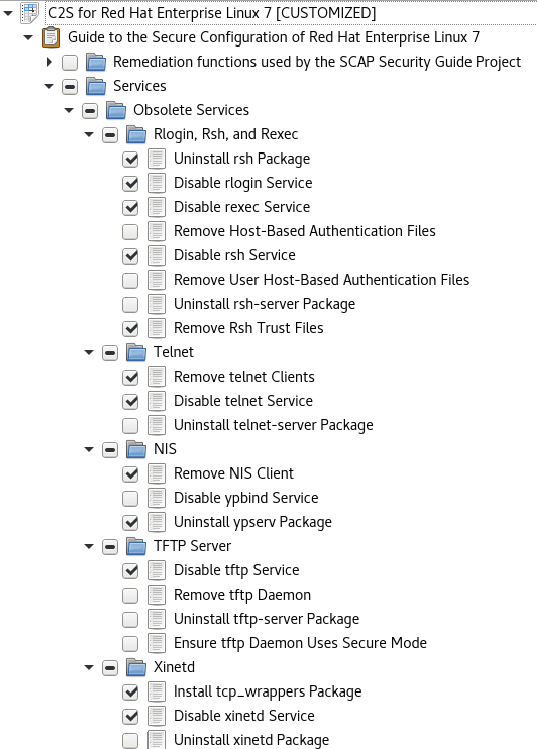
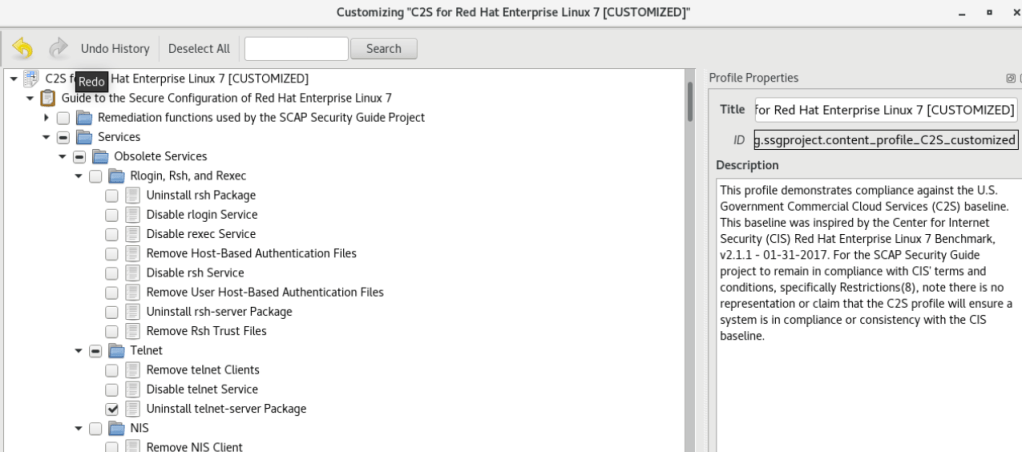
There are all kinds of settings for us to select. For simplicity please press Deselect All, expand the Services section, and click Uninstall telnet-server Package. Press Ok.
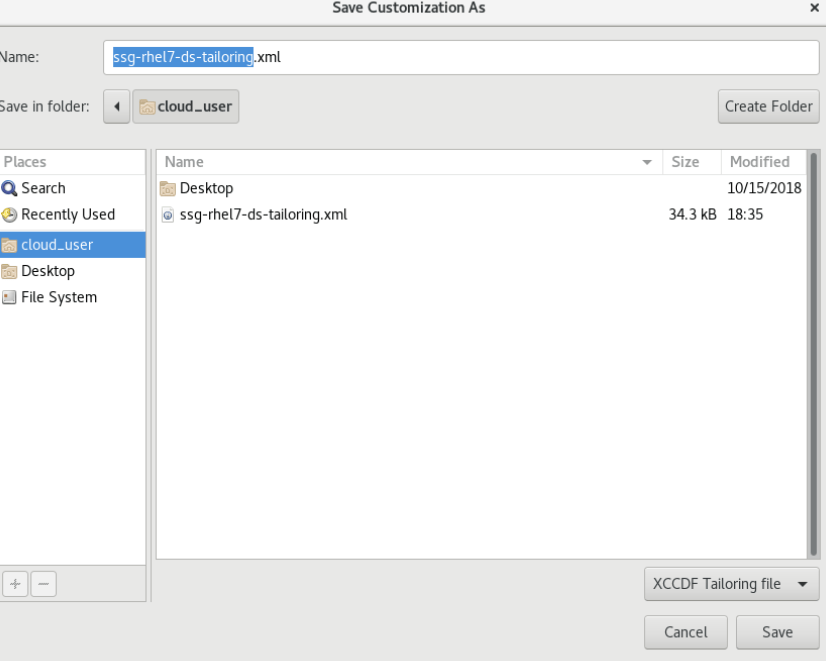
Press File and Save Customization Only to save your work.

You will be prompted to provide a name. Please press Save.
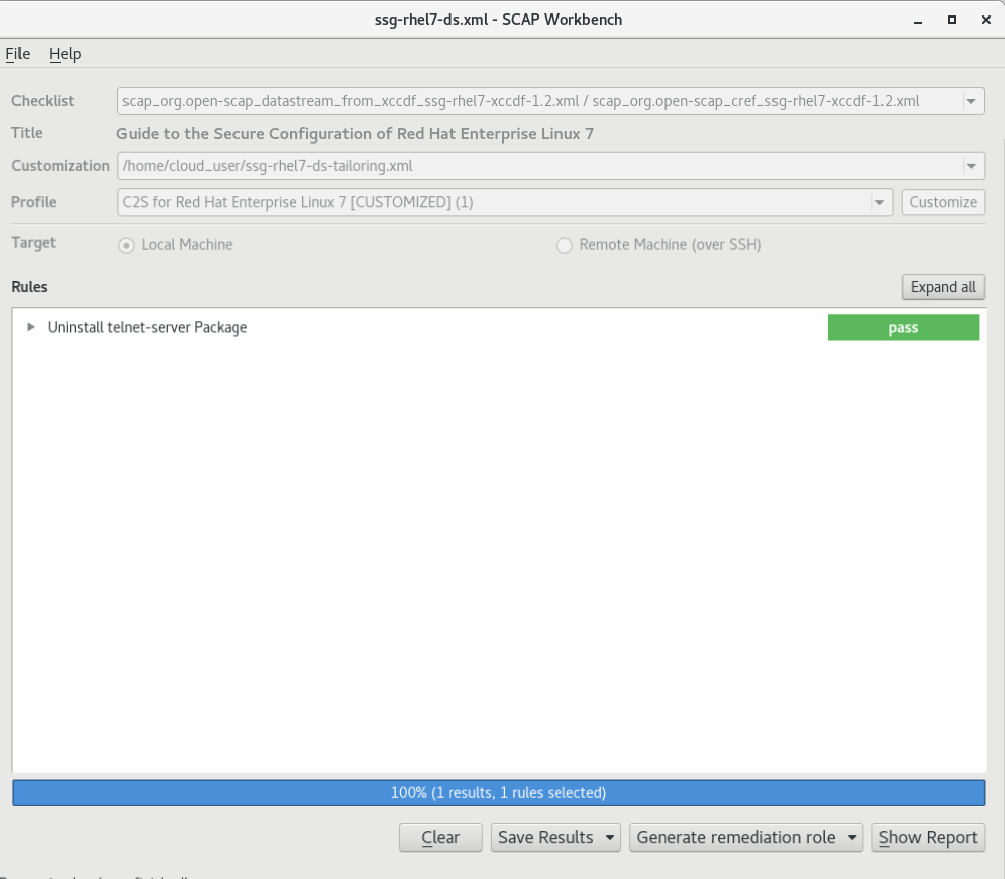
Our customized file should now be loaded. Press Scan. The scan should only take a few seconds to run since we only are checking for the telnet service.
We can see the results of our scan in the Rules section when the scan completes.
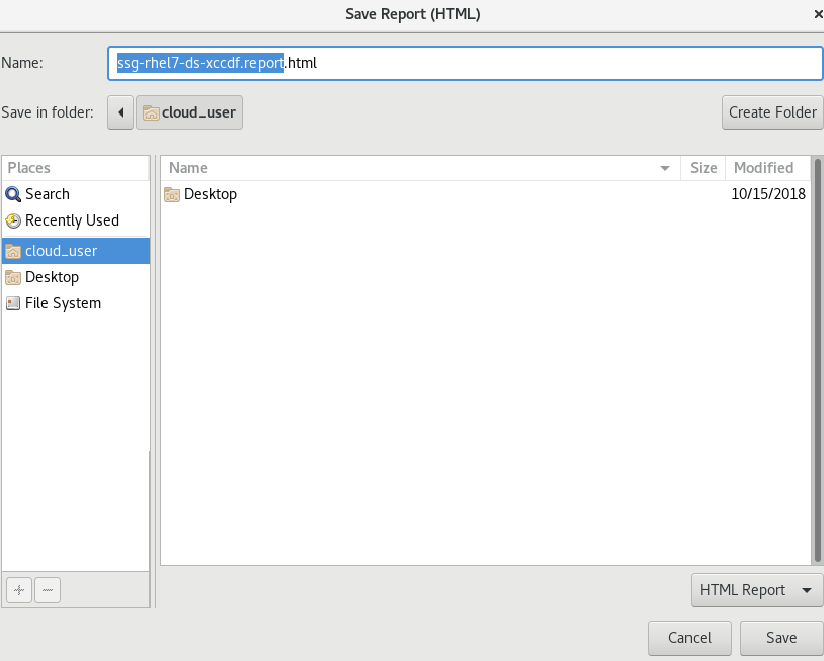
Please select Save Results and choose HTML Report to create a report.
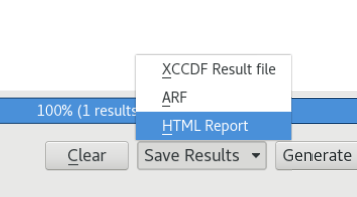
The system will prompt us for a name. Please press Save.
The SCAP Workbench can also be configured to automatically remediate issues that are discovered. This can be configured by pressing Generate remediation role and you will see three options:
- bash
- ansible
- puppet
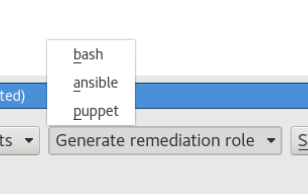
The workbench will create a script to fix discovered issues. We will discuss this in more detail during our discussion on Ansible in a later post.

We are going to finish this post with a brief description of oscap command line utility. This will be installed with the workbench. We would use yum install openscap-scanner to install it by itself.

We will have to also install the SCAP Security Guide if we have not installed workbench. This is done with yum install scap-security-guide.

SCAP content will be created with either the Oval or XCCDF formats. This is specified in the command:
oscap oval eval –results scan-results.xml /usr/share/xml/scap/ssg/content/ssg-rhel7-ds.xml
- oval: Specifies the SCAP format to use
- eval: Directs oscap to scan and evaluate the local host only
- –results: Provides direction for where oscap should save the scan results
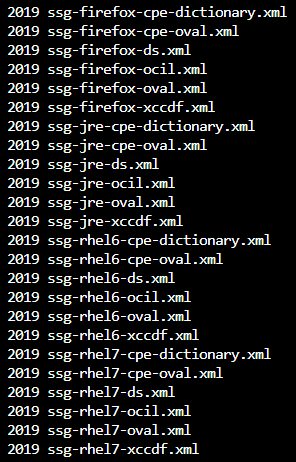
- ssg-rhel7-ds.xml: Specifies the profile for oscap to use during the scan
oscap profiles are stored in /usr/share/xml/scap/ssg/content/
There are two types of remediation we can use with oscap.
- Online remediation causes oscap to automatically fix issues as they are discovered.
- oscap xccdf eval –remediate –profile xccdf_org.ssgproject_content_profile_rht-ccp –results scan-xccdf-results.xml /usr/share/xml/scap/ssg/content/ssg-rhel7-ds.xml
- Offline remediation utilizes the result xml file generated during the scan to implement fixes.
- oscap xccdf remediate –results remediation-results.xml scan-xccdf-results.xml
It is recommended to run a follow up scan after remediation is complete to make sure that we have found all outstanding issues.
We are going to close this post but will pick up our discussion on OSCAP in the next with a look at how we can create and edit policies using Red Hat Satellite.
