We recommend that readers set up an AWS account that can be used to practice skills discussed in these blog posts. The account will provide a lab environment to practice the skills needed to become proficient as a cloud security engineer or administrator.
Note: The Cloud Security Essentials Library does not endorse AWS over any other cloud provider. We are presenting this knowledge for your reference and believe that any skills learned in our AWS blog posts will be transferrable to other services like Azure or Google Cloud.
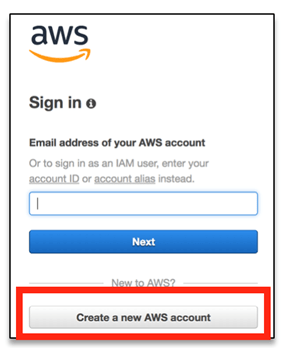
The account setup process begins on the AWS home page (https://aws.amazon.com). Please click on the “Create an AWS Account” at the top right corner of your screen.

Note: If you see a logon pop up box similar to the one shown below please click “Create a new AWS account“.
You will enter your email address, password, and a name for your new AWS account on the next screen. Clicking “Continue” will generate an email you will need to access for account verification. You will be able to sign into your new account before it is verified but will not be able to use any AWS services.
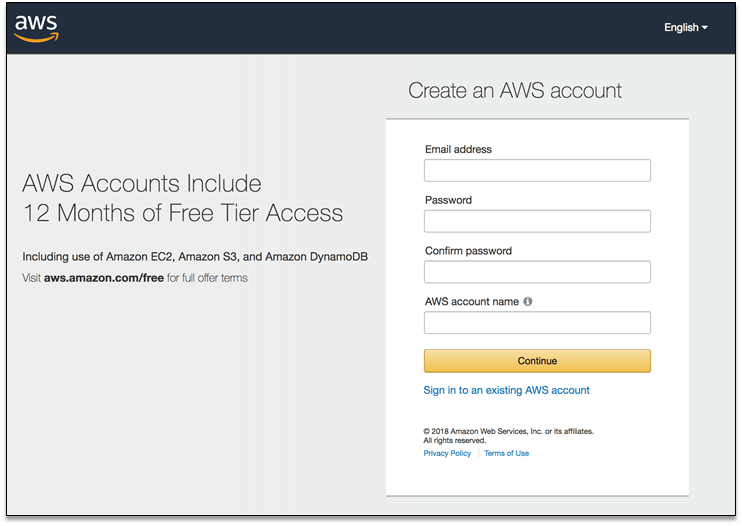
Note: If you accidentally entered the wrong email address you may not be able to access your account after it is activated.
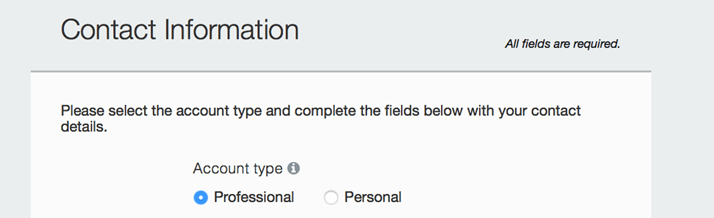
You will now need to select the account type. AWS documentation for the setup process simply says that personal and professional accounts will have the same features and functions.
Enter your remaining information and the read and accept the AWS Customer Agreement. You will then click “Create Account and Continue“.
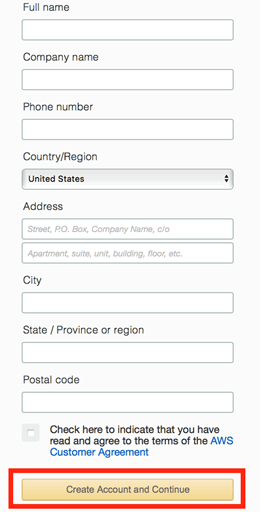
Note: AWS will send you an email to confirm that your account has been created. You will be able to sign into your new account with the email address provided but, as noted above, you will not be able to use any AWS service until you finish activating the account.
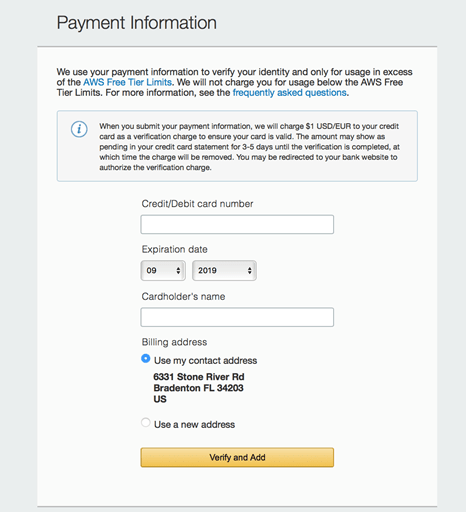
You will need to enter your credit card information for billing on the next screen and then click “Verify and Add“.
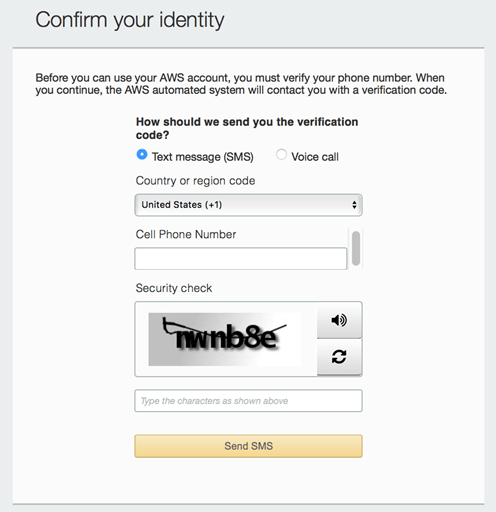
Confirm your identify by entering your phone number and then select whether you prefer to receive a text message or phone call. Click either “Send SMS” or “Contact Me” based on the selection you made.
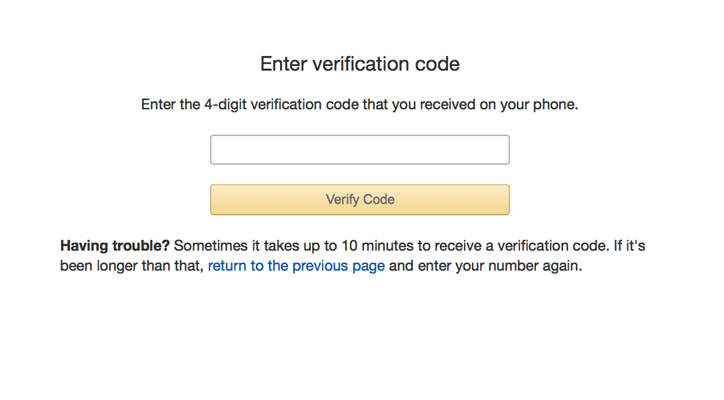
AWS will send you a 4-digit verification code that you will enter on the next screen. Click “Verify Code” once you have entered this.
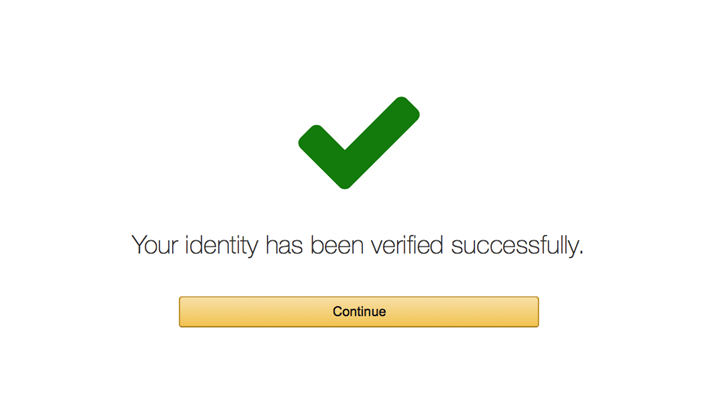
Click “Continue” when you see the message that your identity has been verified. We recommended choosing the “Basic Plan” by clicking “Free” on the next screen and then your account setup will be complete.
Thank you for taking the time to stop by the library! Please consider following our blog so that you will be updated each time a new post is added.
